Philips 10002745 - Manuels

Manuel d'utilisation Philips 10002745


Résumé
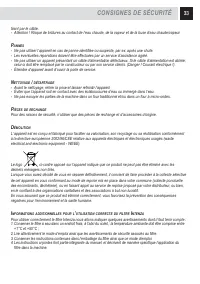
3 IMPORTANT Lors de l’utilisation d’appareils électriques, il est indispensable de respecter toujours les précautions de sécurité principales, y compris les suivantes : 1. Lire toutes les instructions. 2. Ne pas toucher de surfaces chaudes. Utiliser les poignées ou les boutons. 3. Afin d’éviter tout...
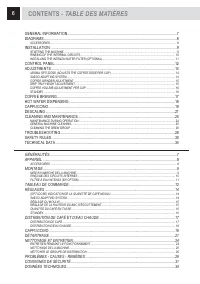
6 GENERAL INFORMATION................................................................................................................7DIAGRAMS ........................................................................................................................................8 ACCESSORIES ..........
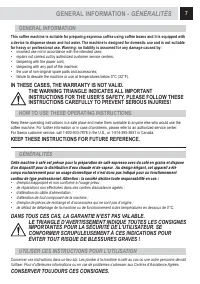
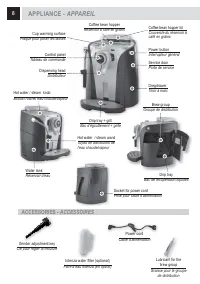
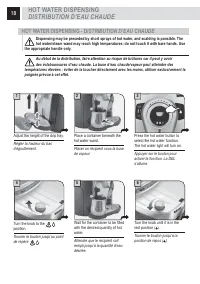
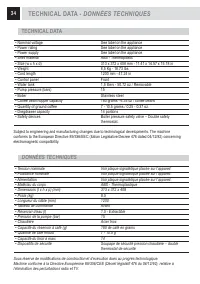
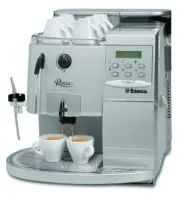
7 GENERAL INFORMATION This coffee machine is suitable for preparing espresso coffee using coffee beans and it is equipped with a device to dispense steam and hot water. The machine is designed for domestic use and is not suitable for heavy or professional use. Warning: no liability is assumed for an...
Other Philips Autres Manuals
-
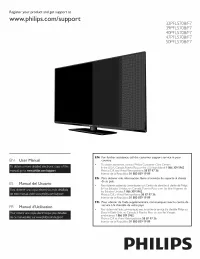 Philips 32PFL5708/F7
Guide rapide
Philips 32PFL5708/F7
Guide rapide
-
Philips 40PFL5708/F7
Guide rapide
-
Philips 47PFL5708/F7
Guide rapide
-
Philips 39PFL5708/F7
Guide rapide
-
 Philips STH3020/70
Manuel d'utilisation
Philips STH3020/70
Manuel d'utilisation
-
 Philips STH3010/30
Manuel d'utilisation
Philips STH3010/30
Manuel d'utilisation
-
 Philips STH1010/10
Manuel d'utilisation
Philips STH1010/10
Manuel d'utilisation
-
 Philips STH3020/16
Manuel d'utilisation
Philips STH3020/16
Manuel d'utilisation
-
 Philips STH3000/26R1
Manuel d'utilisation
Philips STH3000/26R1
Manuel d'utilisation
-
 Philips STH3000/26
Manuel d'utilisation
Philips STH3000/26
Manuel d'utilisation
-
 Philips 0366.00B.77C
Manuel d'utilisation
Philips 0366.00B.77C
Manuel d'utilisation
-
 Philips GC6833/36
Manuel d'utilisation
Philips GC6833/36
Manuel d'utilisation
-
 Philips HD6324/90
Manuel d'utilisation
Philips HD6324/90
Manuel d'utilisation
-
 Philips GC6802/36
Manuel d'utilisation
Philips GC6802/36
Manuel d'utilisation
-
 Philips GC6612/30
Manuel d'utilisation
Philips GC6612/30
Manuel d'utilisation
-
 Philips GC6842/36
Manuel d'utilisation
Philips GC6842/36
Manuel d'utilisation
-
 Philips GC6804/26
Manuel d'utilisation
Philips GC6804/26
Manuel d'utilisation
-
 Philips GC6730/36R1
Manuel d'utilisation
Philips GC6730/36R1
Manuel d'utilisation
-
 Philips GC6704/36R1
Manuel d'utilisation
Philips GC6704/36R1
Manuel d'utilisation
-
 Philips GC6802/36R1
Manuel d'utilisation
Philips GC6802/36R1
Manuel d'utilisation