Philips HL5271/21 - Manuels

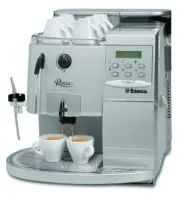
Manuel d'utilisation Philips HL5271/21


Résumé
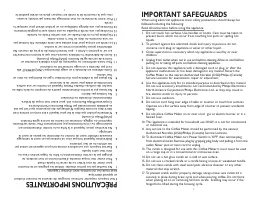
IMPORTANT SAFEGUARDS When using electrical appliances, basic safety precautions should always befollowed including the following:Read all instructions before using the appliance.1. Do not touch hot surfaces. Use handles or knobs. Care must be taken to prevent burns which can occur from touching hot ...
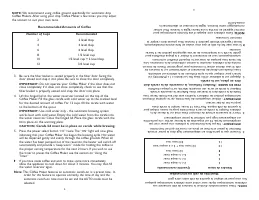
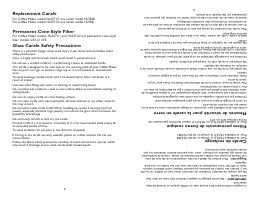
18. Do not open reservoir cover until Coffee Maker has finished brew cycle. Hot steam trapped under cover could burn your fingers. 19. Never use warm or hot water to fill the reservoir. Cold water works best.20. Do not move Coffee Maker when in use.21. Before using this appliance, move it 2-4 inches...
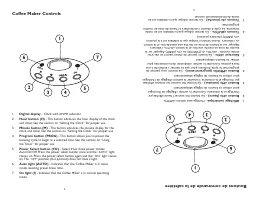
- Si le porte-filtr e déborde ,ou si le café ne s'écoule pas par l'orifice d'écoulement dans la carafe ,n'ouvr ez et ne maniez pas le porte-filtr e. Débranchez la cafetièr e et attendez que le contenu r efroidisse . - Ne retir ez aucune partie de la caf etière sauf la caraf e,qui peut êtr e retirée ...
Other Philips Autres Manuals
-
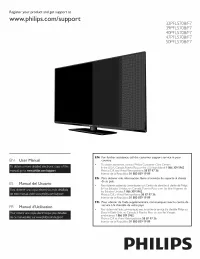 Philips 32PFL5708/F7
Guide rapide
Philips 32PFL5708/F7
Guide rapide
-
Philips 40PFL5708/F7
Guide rapide
-
Philips 47PFL5708/F7
Guide rapide
-
Philips 39PFL5708/F7
Guide rapide
-
 Philips STH3020/70
Manuel d'utilisation
Philips STH3020/70
Manuel d'utilisation
-
 Philips STH3010/30
Manuel d'utilisation
Philips STH3010/30
Manuel d'utilisation
-
 Philips STH1010/10
Manuel d'utilisation
Philips STH1010/10
Manuel d'utilisation
-
 Philips STH3020/16
Manuel d'utilisation
Philips STH3020/16
Manuel d'utilisation
-
 Philips STH3000/26R1
Manuel d'utilisation
Philips STH3000/26R1
Manuel d'utilisation
-
 Philips STH3000/26
Manuel d'utilisation
Philips STH3000/26
Manuel d'utilisation
-
 Philips 0366.00B.77C
Manuel d'utilisation
Philips 0366.00B.77C
Manuel d'utilisation
-
 Philips GC6833/36
Manuel d'utilisation
Philips GC6833/36
Manuel d'utilisation
-
 Philips HD6324/90
Manuel d'utilisation
Philips HD6324/90
Manuel d'utilisation
-
 Philips GC6802/36
Manuel d'utilisation
Philips GC6802/36
Manuel d'utilisation
-
 Philips GC6612/30
Manuel d'utilisation
Philips GC6612/30
Manuel d'utilisation
-
 Philips GC6842/36
Manuel d'utilisation
Philips GC6842/36
Manuel d'utilisation
-
 Philips GC6804/26
Manuel d'utilisation
Philips GC6804/26
Manuel d'utilisation
-
 Philips GC6730/36R1
Manuel d'utilisation
Philips GC6730/36R1
Manuel d'utilisation
-
 Philips GC6704/36R1
Manuel d'utilisation
Philips GC6704/36R1
Manuel d'utilisation
-
 Philips GC6802/36R1
Manuel d'utilisation
Philips GC6802/36R1
Manuel d'utilisation