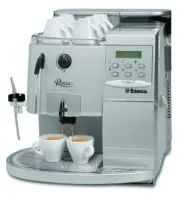
Philips RI9755/47 - Manuels

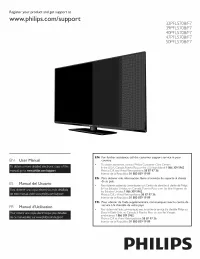
Manuel d'utilisation Philips RI9755/47


Résumé
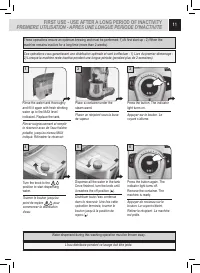
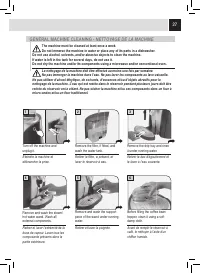
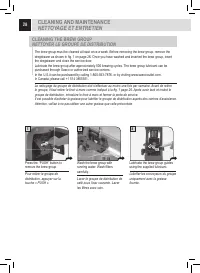
Operation and maintenance manual Before using the machine, please read the attached operating instructions. Carefully read the safety rules. Mode d'emploi Veuillez lire attentivement le mode d'emploi (notamment les consignes de sécurité) avant d'utiliser l'appareil. FOR HOUSEHOLD USE ONLY USAGE DOME...
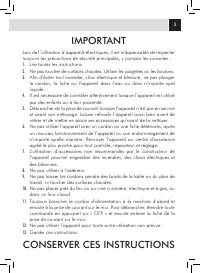
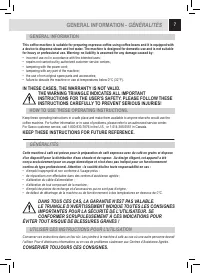
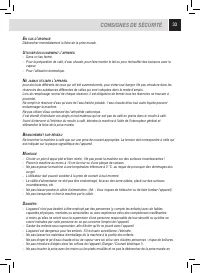
3 IMPORTANT Lors de l’utilisation d’appareils électriques, il est indispensable de respecter toujours les précautions de sécurité principales, y compris les suivantes : 1. Lire toutes les instructions. 2. Ne pas toucher de surfaces chaudes. Utiliser les poignées ou les boutons. 3. Afin d’éviter tout...
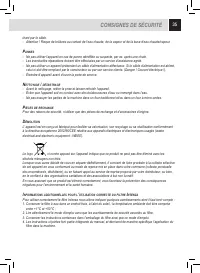
5 PRÉCAUTIONS Machine est réservée à un usage domestique. Tout entretien, en dehors du nettoyage et de l’entretien usuel par l’usager, doit être fait par un service après- vente autorisé. Ne pas plonger la base dans l’eau. Pour éviter les courts-circuits et les décharges électriques, ne pas démonter...
Other Philips Autres Manuals
-
 Philips 32PFL5708/F7
Guide rapide
Philips 32PFL5708/F7
Guide rapide
-
Philips 40PFL5708/F7
Guide rapide
-
Philips 47PFL5708/F7
Guide rapide
-
Philips 39PFL5708/F7
Guide rapide
-
 Philips STH3020/70
Manuel d'utilisation
Philips STH3020/70
Manuel d'utilisation
-
 Philips STH3010/30
Manuel d'utilisation
Philips STH3010/30
Manuel d'utilisation
-
 Philips STH1010/10
Manuel d'utilisation
Philips STH1010/10
Manuel d'utilisation
-
 Philips STH3020/16
Manuel d'utilisation
Philips STH3020/16
Manuel d'utilisation
-
 Philips STH3000/26R1
Manuel d'utilisation
Philips STH3000/26R1
Manuel d'utilisation
-
 Philips STH3000/26
Manuel d'utilisation
Philips STH3000/26
Manuel d'utilisation
-
 Philips 0366.00B.77C
Manuel d'utilisation
Philips 0366.00B.77C
Manuel d'utilisation
-
 Philips GC6833/36
Manuel d'utilisation
Philips GC6833/36
Manuel d'utilisation
-
 Philips HD6324/90
Manuel d'utilisation
Philips HD6324/90
Manuel d'utilisation
-
 Philips GC6802/36
Manuel d'utilisation
Philips GC6802/36
Manuel d'utilisation
-
 Philips GC6612/30
Manuel d'utilisation
Philips GC6612/30
Manuel d'utilisation
-
 Philips GC6842/36
Manuel d'utilisation
Philips GC6842/36
Manuel d'utilisation
-
 Philips GC6804/26
Manuel d'utilisation
Philips GC6804/26
Manuel d'utilisation
-
 Philips GC6730/36R1
Manuel d'utilisation
Philips GC6730/36R1
Manuel d'utilisation
-
 Philips GC6704/36R1
Manuel d'utilisation
Philips GC6704/36R1
Manuel d'utilisation
-
 Philips GC6802/36R1
Manuel d'utilisation
Philips GC6802/36R1
Manuel d'utilisation