Shark NV751 - Manuels
Shark NV751 - Manuel d'utilisation en ligne au format PDF.
Manuels:
Manuel d'utilisation Shark NV751


Résumé
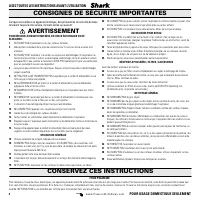
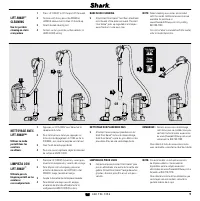
4 w w w . P o w e r e d L i f t A w a y . c o m POUR USAGE DOMESTIQUE SEULEMENT LISEZ TOUTES LES INSTRUCTIONS AVANT L’UTILISATION CONSERVEZ CES INSTRUCTIONS FICHE POLARISÉE Pour réduire le risque de chocs électriques, cet appareil possède une fiche polarisée (une lame est plus large que l’autre). Pa...
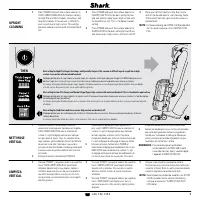
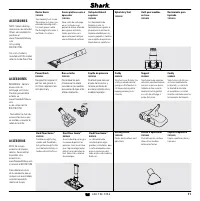
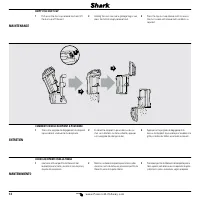
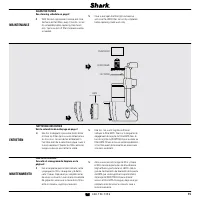
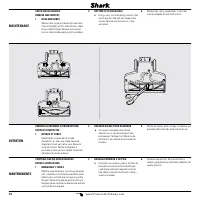
6 w w w . P o w e r e d L i f t A w a y . c o m ASSEMBLY 1 Place the nozzle on the floor and insert the wand. 2 Insert the handle into the wand. 3 Slide the POD onto the wand. 4 Attach the hose to the back of the pod. 5 Insert DUSTER GENIE and upholstery tool into the accessory clips as shown. ASSEM...
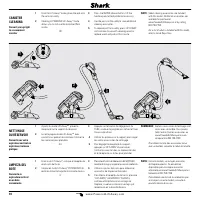
8 0 0 . 7 9 8 . 7 3 9 8 9 3 5 OR 1 2 2 LIFT-AWAY ™ CLEANING Use for portable cleaning on stairs or anywhere 1 Press LIF T-AWAY to lift the pod off the wand. 2 To clean with hose, press the WAND or HANDLE release button then lift handle up. 3 Attach desired cleaning tool. 4 For best suction, push the...
Shark Manuels
-
 Shark S8201
Notice
Shark S8201
Notice
-
 Shark S5003D
Manuel d'utilisation
Shark S5003D
Manuel d'utilisation
-
 Shark XDCKIW3500LEU
Manuel d'utilisation
Shark XDCKIW3500LEU
Manuel d'utilisation
-
 Shark LA322
Manuel d'utilisation
Shark LA322
Manuel d'utilisation
-
 Shark RV2001
Manuel d'utilisation
Shark RV2001
Manuel d'utilisation
-
Shark RV2001
Notice
-
 Shark WD101
Manuel d'utilisation
Shark WD101
Manuel d'utilisation
-
 Shark HP200
Notice
Shark HP200
Notice
-
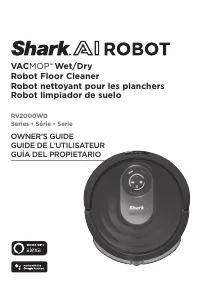
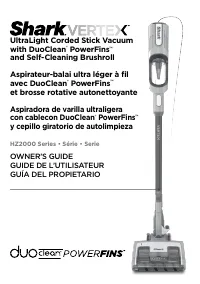 Shark HZ2002
Notice
Shark HZ2002
Notice
-
 Shark HD112
Manuel d'utilisation
Shark HD112
Manuel d'utilisation
-
 Shark AH401
Guide de dépannage
Shark AH401
Guide de dépannage
-
 Shark S3973
Manuel d'utilisation
Shark S3973
Manuel d'utilisation
-
 Shark SK460
Notice
Shark SK460
Notice
-
 Shark SV748
Manuel d'utilisation
Shark SV748
Manuel d'utilisation
-
 Shark SV780
Notice
Shark SV780
Notice
-
Shark SV780
Manuel d'utilisation
-
 Shark V2950
Manuel d'utilisation
Shark V2950
Manuel d'utilisation
-
 Shark DXT100
Notice
Shark DXT100
Notice
-
 Shark HV292
Notice
Shark HV292
Notice
-
Shark HV292
Manuel d'utilisation