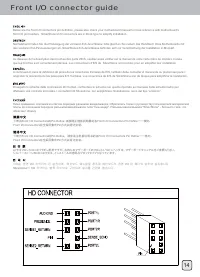
Page 1 - Front I/O connector guide; Open
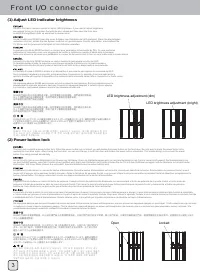
Front I/O connector guide (1) Adjust LED indicator brightness LED brightness adjustment (dim) Open Locked LED brightness adjustment (bright) DS380’s front door contains a slider to adjust LED brightness. If you need to adjust brightness, we suggest turning on the system first with the door closed an...
Page 2 - Installation guide
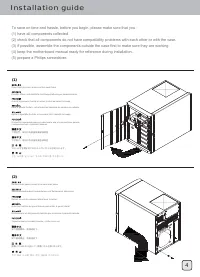
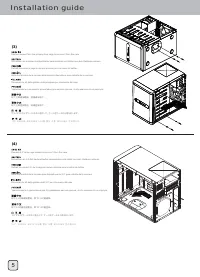
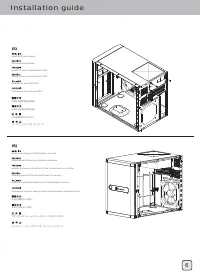
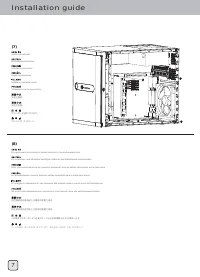
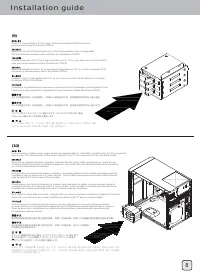
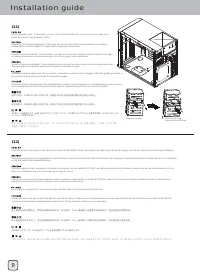
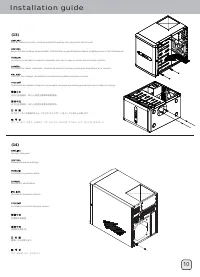
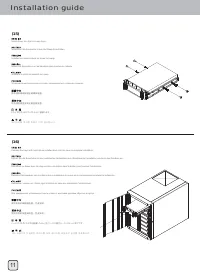
Installation guide (1) Open front door and remove all hot-swap trays To save on time and hassle, before you begin, please make sure that you :(1) have all components collected. (2) check that all components do not have compatibility problems with each other or with the case.(3) if possible, assemble...
Page 10 - Connector definition
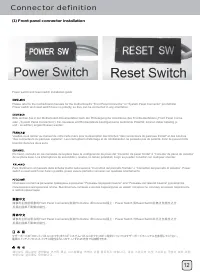
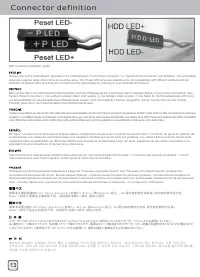
Connector definition (1) Front panel connector installation Power switch and reset switch installation guide: Please refer to the motherboard manuals for the motherboard’s “Front Panel Connector” or “System Panel Connector” pin definitioPower switch and reset switch have no polarity, so they can be ...
Page 13 - Guide to hard drive backplane
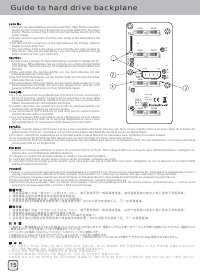
Guide to hard drive backplane 1.There are one 4pin peripheral connector and three 15pin SATA connectors, please do not connect all of them from one single cable from the power supply. Please connect them with at least two cables directly from the power supply. 2.Please connect case fans from t...
Page 14 - Component Size Limitations
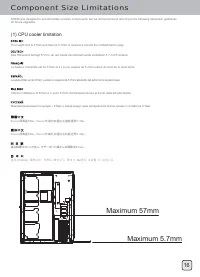
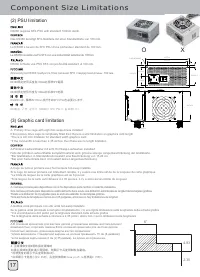
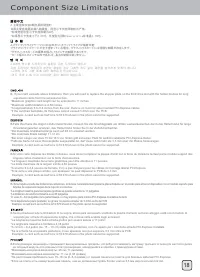
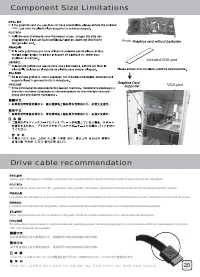
Component Size Limitations The height limit is 57mm and there is 5.7mm of clearance around the motherboard’s edge. DS380 was designed to accommodate oversize components, but we still recommend referring to the following dimension guidelines for future upgrades: (1) CPU cooler limitation Das Höhenlim...
Page 18 - Optimal Thermal Performance Layout
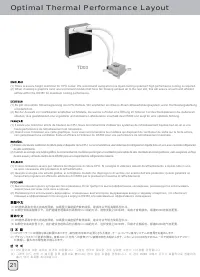
Optimal Thermal Performance Layout 21 (1) There is severe height restriction for CPU cooler. We recommend using all-in-one liquid cooling systems if high performance cooling is required. (2) When choosing a graphics card, we recommend models that have fan blowing exhaust air to the rear slot, this w...
Page 19 - Hard drive installation tips
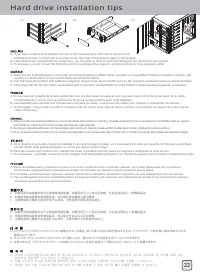
Hard drive installation tips A. If you have a system drive installed into one of the hot-swap bays and need to secure it from accidental removal, a screw hole is provided on the right side of the primary cage for this purpose.B. Label stickers are included with hot-swap trays, you can write on them ...
Page 20 - Upgrade And Maintenance
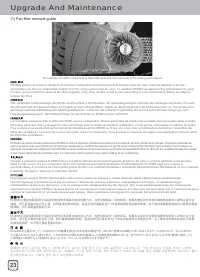
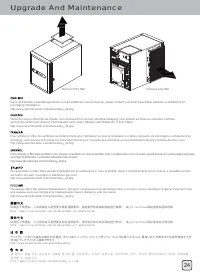
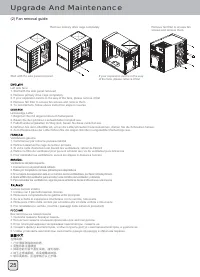
Upgrade And Maintenance 23 DS380’s positive air pressure design is an effective configuration that will reduce dust buildup inside the case. Small air particles or lint will accumulate over time on intake filters instead of on the components inside the case. To maintain DS380’s excellent cooling per...
Page 23 - Protect your computer
Protect your computer 27 Kensington Security SlotNote: Cable security lock is not included with DS380A lock and cable can be purchased on the market for use with the Kensington security slots located on rear of DS380 to prevent removal of the entire computer or side panels.Caution: Please check for ...