Brother LZ2-B855E- Manuels
Brother LZ2-B855E- Manuel d'utilisation en ligne au format PDF.
Manuels:
Manuel d'utilisation Brother LZ2-B855E


Résumé
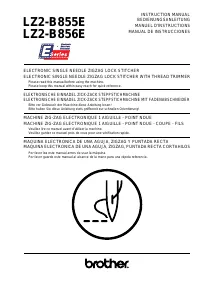
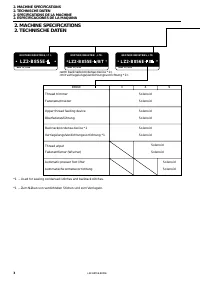
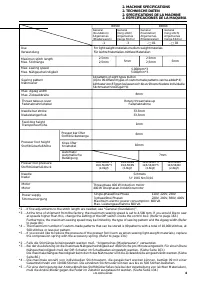
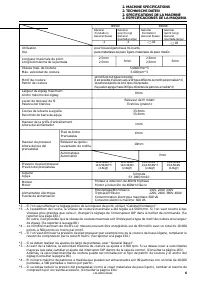
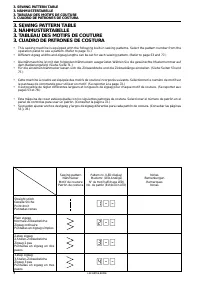
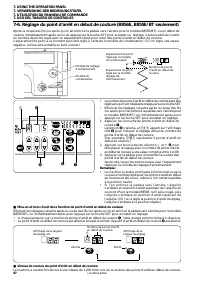
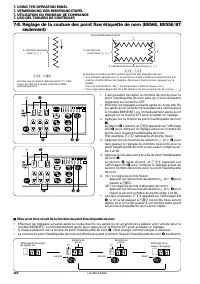
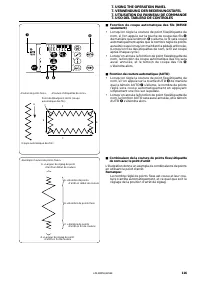
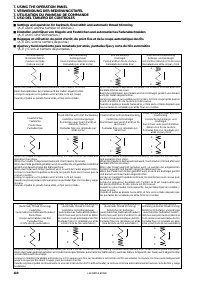
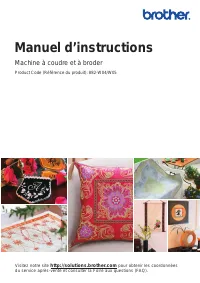
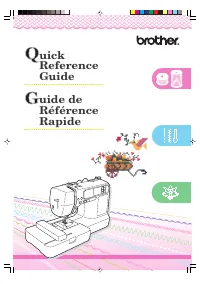
LZ2-B855E,B856E (French) Nous vous remercions d’avoir acheté une machine à coudre BROTHER. Avant d’utiliser votre nouvelle machine, veuillezlire attentivement les instructions de sécurité ci-dessous et les explications données dans le manuel d’instructions. Pour utiliser les machines à coudre indust...
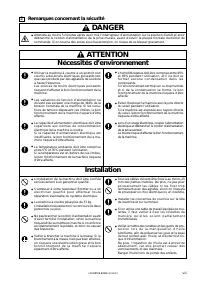
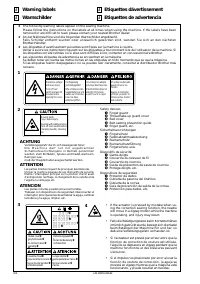
LZ2-B855E,B856E (French) ATTENTION DANGER 2 Remarques concernant la sécurité ● Attendre au moins 5 minutes après avoir mis l’interrupteur d’alimentation sur la position d’arrêt et avoirdébranché le cordon d’alimentation de la prise murale, avant d’ouvrir la plaque frontale du boîtier decommande. Si ...
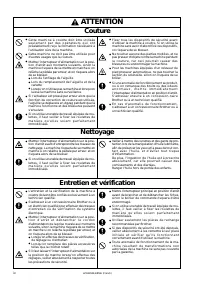
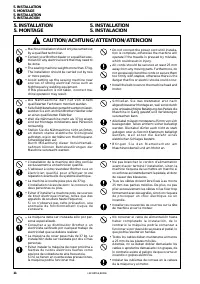
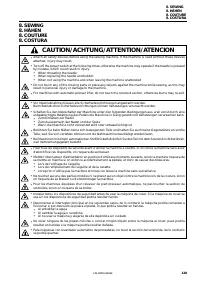
LZ2-B855E,B856E (French) ATTENTION ● C e t t e m a c h i n e à c o u d r e d o i t ê t r e u t i l i s é es e u l e m e n t p a r d e s o p é r a t e u r s q u i o n tpréalablement reçu la formation nécessaire àl’utilisation sûre de la machine. ● Cette machine ne doit pas être utilisée pourd’autres ...
Brother Manuels
-
 Brother 750E
Notice
Brother 750E
Notice
-
 Brother 882-C42
Manuel d'utilisation
Brother 882-C42
Manuel d'utilisation
-
 Brother 882-W04
Manuel d'utilisation
Brother 882-W04
Manuel d'utilisation
-
 Brother DCP-167C
Manuel d'utilisation
Brother DCP-167C
Manuel d'utilisation
-
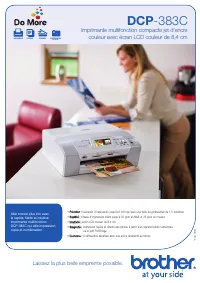 Brother DCP-383C
Manuel d'utilisation
Brother DCP-383C
Manuel d'utilisation
-
 Brother DZ2400
Manuel d'utilisation
Brother DZ2400
Manuel d'utilisation
-
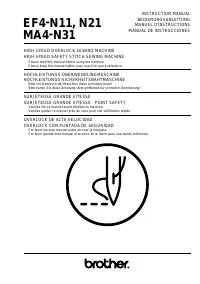 Brother EF4-N11
Manuel d'utilisation
Brother EF4-N11
Manuel d'utilisation
-
Brother EF4-N11
Notice
-
 Brother EF4-N21
Manuel d'utilisation
Brother EF4-N21
Manuel d'utilisation
-
Brother EF4-N21
Notice
-
 Brother EF4-B682
Manuel d'utilisation
Brother EF4-B682
Manuel d'utilisation
-
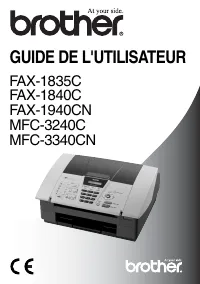 Brother FAX-1835C
Manuel d'utilisation
Brother FAX-1835C
Manuel d'utilisation
-
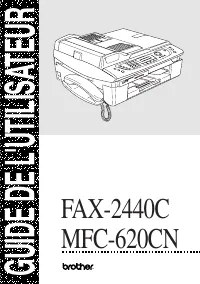 Brother FAX-2440C
Manuel d'utilisation
Brother FAX-2440C
Manuel d'utilisation
-
 Brother FAX-T102
Manuel d'utilisation
Brother FAX-T102
Manuel d'utilisation
-
 Brother GL-200
Manuel d'utilisation
Brother GL-200
Manuel d'utilisation
-
 Brother HE-240
Manuel d'utilisation
Brother HE-240
Manuel d'utilisation
-
Brother HE-240
Notice
-
 Brother HL-1670N
Manuel d'utilisation
Brother HL-1670N
Manuel d'utilisation
-
 Brother HL-5240
Manuel d'utilisation
Brother HL-5240
Manuel d'utilisation
-
 Brother HL-760
Manuel d'utilisation
Brother HL-760
Manuel d'utilisation