Brother LS-2125i- Manuels
Brother LS-2125i- Manuel d'utilisation en ligne au format PDF.
Manuels:
Manuel d'utilisation Brother LS-2125i


Résumé
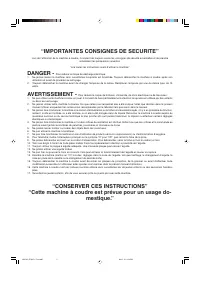
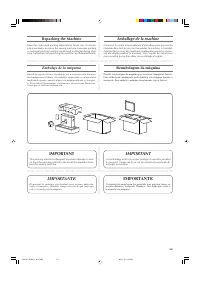
“IMPORTANTES CONSIGNES DE SECURITE” Lors de l’utilisation de la machine à coudre, il convient de toujours suivre les consignes de sécurité essentielles et de prendre notamment les précautions suivantes: “Lire toutes les instructions avant d’utiliser la machine.” DANGER - Pour réduire le risque de dé...
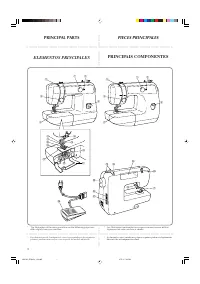
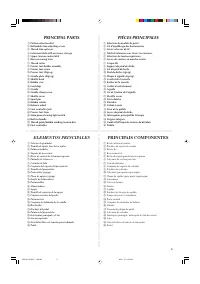
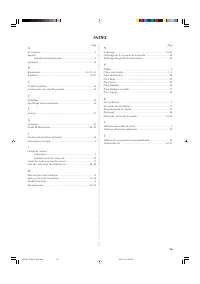
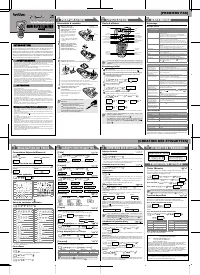
○○○○○○○○○○○○○○○○○○○○○○○○○○○○○○○○○○○○○○○○○○○○○○○○○○○○○○○○○○○○○○○○○○○○○○○○○○○○○○○○○○○○○○○○○○○○○○○○ CONTENTS Page PRINCIPAL PARTS ................................................................... 1 PRINCIPAL PARTS ................................................................... 2 ACCESSORIES ........
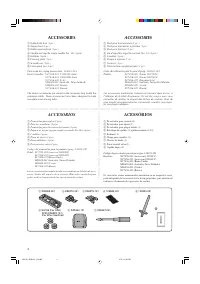
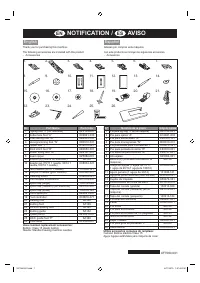
○○○○○○○○○○○○○○○○○○○○○○○○○○○○○○○○○○○○○○○○○○○○○○○○○○○○○○○○○○○○○○○○○○○○○○○○○○○○○○○○○○○○○○○○○○○○○○○○ 3 ACCESSORIES 1 Buttonhole foot (1 pc.) 2 Zipper foot (1 pc.) 3 Button sewing Foot (1 pc.) 4 Needle set (regular single needle No. 14) (3 pcs.) 5 Bobbins (3 pcs.) 6 Darning plate (1 pc.) 7 Screwdriver (1...
Brother Manuels
-
 Brother 750E
Notice
Brother 750E
Notice
-
 Brother 882-C42
Manuel d'utilisation
Brother 882-C42
Manuel d'utilisation
-
 Brother 882-W04
Manuel d'utilisation
Brother 882-W04
Manuel d'utilisation
-
 Brother DCP-167C
Manuel d'utilisation
Brother DCP-167C
Manuel d'utilisation
-
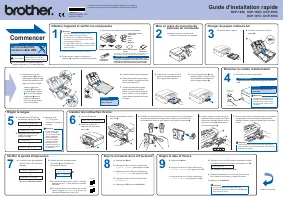
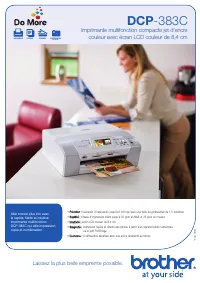 Brother DCP-383C
Manuel d'utilisation
Brother DCP-383C
Manuel d'utilisation
-
 Brother DZ2400
Manuel d'utilisation
Brother DZ2400
Manuel d'utilisation
-
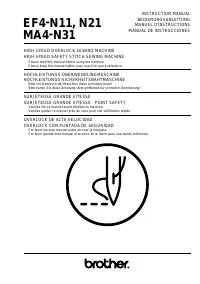 Brother EF4-N11
Manuel d'utilisation
Brother EF4-N11
Manuel d'utilisation
-
Brother EF4-N11
Notice
-
 Brother EF4-N21
Manuel d'utilisation
Brother EF4-N21
Manuel d'utilisation
-
Brother EF4-N21
Notice
-
 Brother EF4-B682
Manuel d'utilisation
Brother EF4-B682
Manuel d'utilisation
-
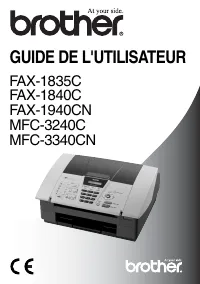 Brother FAX-1835C
Manuel d'utilisation
Brother FAX-1835C
Manuel d'utilisation
-
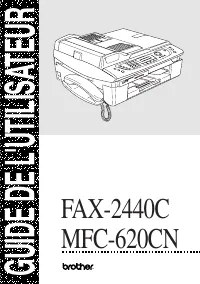 Brother FAX-2440C
Manuel d'utilisation
Brother FAX-2440C
Manuel d'utilisation
-
 Brother FAX-T102
Manuel d'utilisation
Brother FAX-T102
Manuel d'utilisation
-
 Brother GL-200
Manuel d'utilisation
Brother GL-200
Manuel d'utilisation
-
 Brother HE-240
Manuel d'utilisation
Brother HE-240
Manuel d'utilisation
-
Brother HE-240
Notice
-
 Brother HL-1670N
Manuel d'utilisation
Brother HL-1670N
Manuel d'utilisation
-
 Brother HL-5240
Manuel d'utilisation
Brother HL-5240
Manuel d'utilisation
-
 Brother HL-760
Manuel d'utilisation
Brother HL-760
Manuel d'utilisation